I apologize for not having written an update in a while, but I assure you after reading this post you will understand entirely why it’s taken so long. Stripping the interior lasted about a week and a half, however detailing and cleaning the aluminum took another week. A family friend started to polish and buff the aluminum while I was away and when I came back I freaked a bit – the buffer was actually embedding tiny circular scratches and dulling it out. Aaaaaah, so glad that mayhem is over, just left the aluminum alone and looks great after a decent cleaning. I also started wallpapering and painting but I’ll touch on that subject my next post – this post is dedicated to the headache that is plumbing.


So I know in a previous post I wrote that the trailer was in awesome condition and it only had a single blown pipe. Little did I know… it was more like a bazillion issues with the piping system and seriously at one point I was entirely ready to take a gas tank and lighter to the whole thing. Luckily, I’m not THAT dangerously impulsive. I’ll try and keep this as concise as possible.
1st (KNOWN) issue: Blown pipe near the electrical box, not good for obvious reasons.
Solution: Pipe cutter, 1” water hosing, 2 clamps. Fixed


2nd (KNOWN) issue: Plumbing not routed through water heater, slightly needed for warm showers…
Solution: Remove connecting pipe, realign copper piping, clean and reuse flared plumbing connectors into water heater. Fixed.


At this point I honestly believed everything was fixed. Completely excited to test out running water, I run over to the garden hose and hook it up, turn it on, run back into the trailer, and before I even turn on a faucet I freak as there’s a sudden rush of water coming from the bathroom – which is where the electrical box is located mind you… why the electrical box is located by major water lines on the floor is beyond me… Regardless, after fixing one leak and testing out the water lines again, another leak magically arouse. And another. And another. Fun stuff.
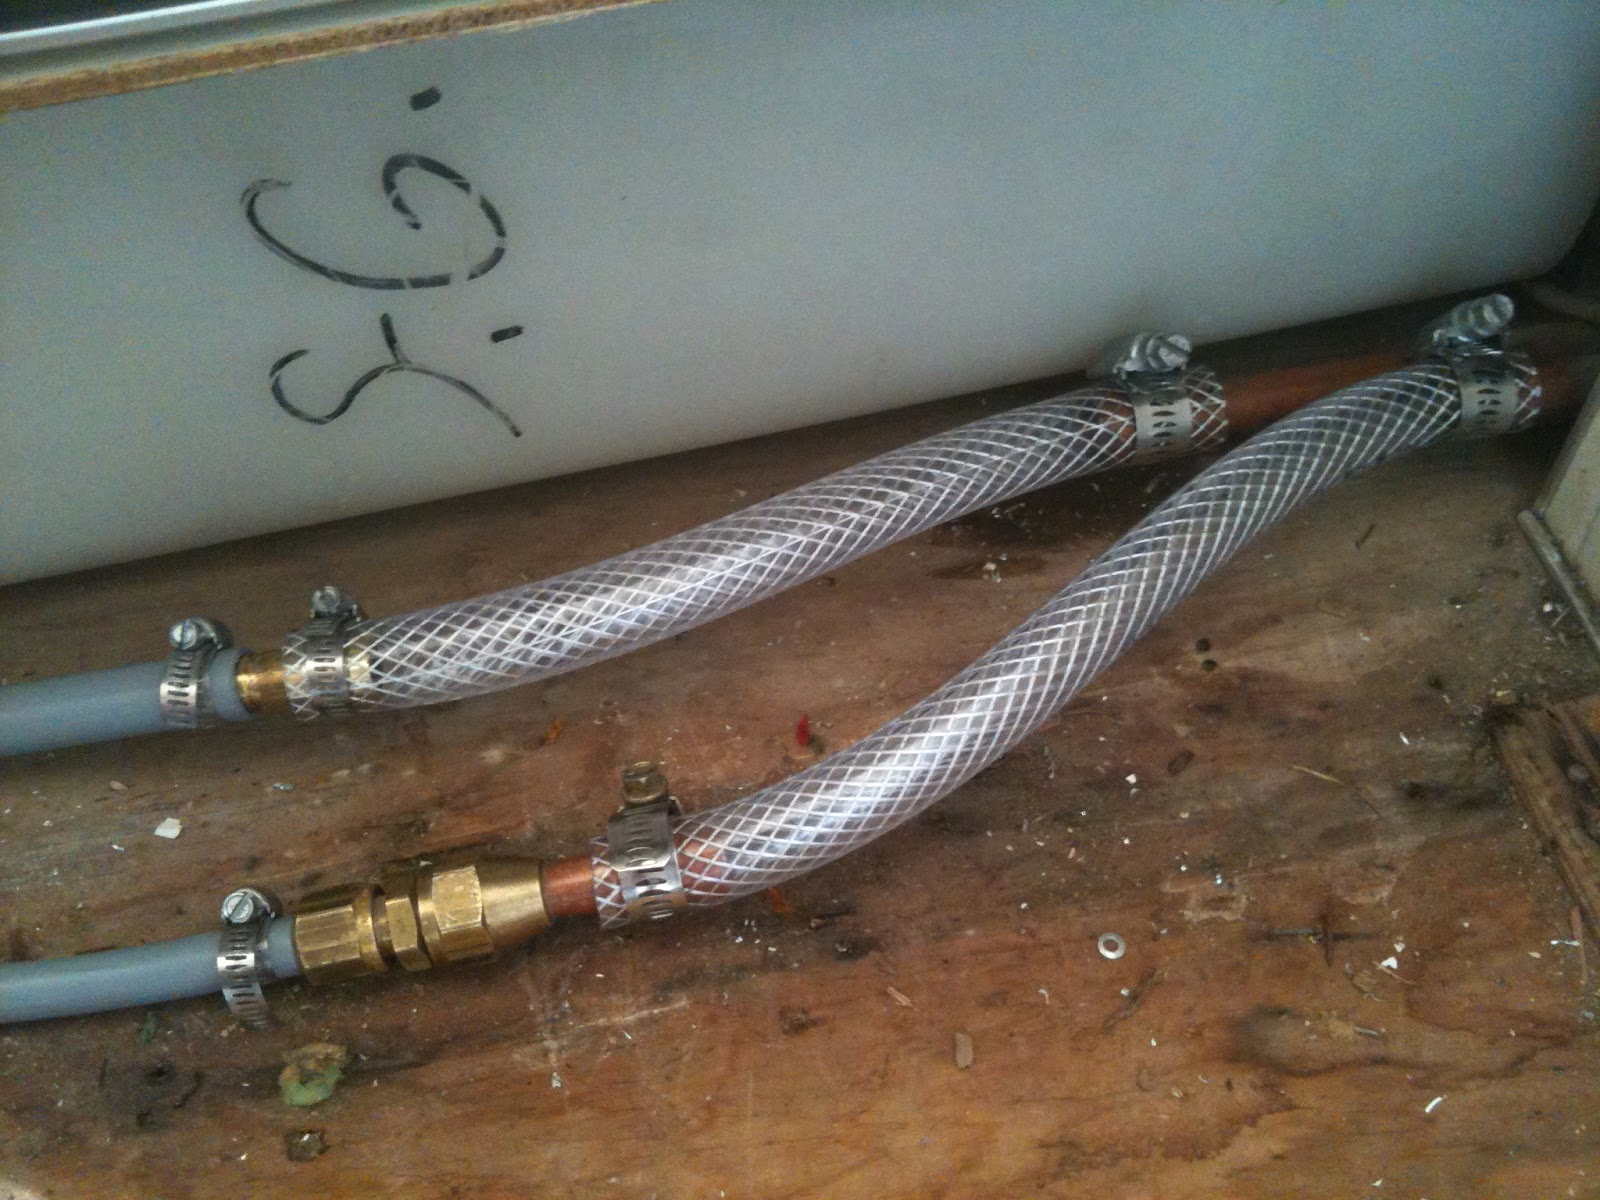
3rd issue: Patched hot and cold water lines were disconnected in bathroom. Looks like old patches that were cut too short so when the trailer was moving, the swaying pulled them apart.
Solution: Had to be a little smart about this one, the two gray lines are two different sizes (1” and 1.5”), but the copper lines they were being connected to is one size (1”). Bought new water lines for the patch, but used a compression adaptor for one line and a barb coupling for the other. Fixed… hooray.


 4th issue: Turns out someone tried to solder connecting pieces underneath the bathroom sink and didn’t do a very good job, so every time I turned on the water, it leaked.
Solution: Blow torch away old solder, wire brush clean pipe lines, re-solder. Fixed.


5th issue: There was a slow but steady leak coming from the faucet lines underneath the sink. The connecting piece is too rusted and old to remove and since the faucet itself is a permanent fixture to the sink, I cant replace it without replacing the entire bathroom. Not in my near future plans lol.
Solution: Plumbers glue! Really, it’s the lazy solution but it worked. Fixed.
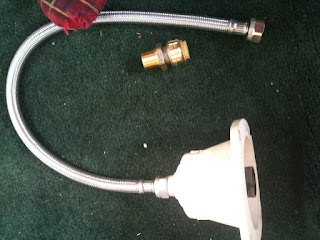
6th issue: While using the garden hose as a water source, the main copper line connecting the water outside to the lines inside had an enormous leak… again right next to the electrical box. I’m surprised I didn’t blow the entire electrical wiring system. So. Much. Water. Not. Even. Funny. And I’m not about to mess around trying to bend copper piping and getting things to line up right.
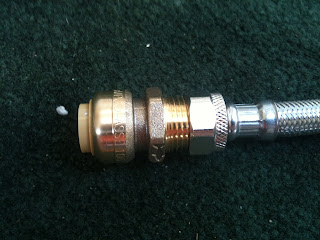
Solution: Pipe cutter, remove large portion of piping, bought flexible kitchen water hose, bought my new favorite plumbing toy (Sharkbite push-fit fittings), connect hose to main connector, connect other end to Sharkbite, connect shark bite to copper water line. Viola! Fixed.


7th issue: After washing dishes, there was a leak by the rear goucho but it wasn’t from a pressurized water line… weird. Found out there’s a crack in the drainage line (connector part) for the kitchen sink.
7th issue: After washing dishes, there was a leak by the rear goucho but it wasn’t from a pressurized water line… weird. Found out there’s a crack in the drainage line (connector part) for the kitchen sink.
Solution: Used a tar-like leak spray my friend Brittany had. Backup plan, bought $5 replacement connector part just in case.
8th issue: Kitchen faucet line had a slow and steady leak just like the bathroom. Plumbers glue wasn’t going to work because for some reason I could move the copper piping around. Turns out someone tried fixing this and flared the copper which was being connected to a NPT fitting. Flare and NPT = DOES NOT WORK.


Solution #1: Cut off flared end and use compression fitting. Stopped the leak from the copper end, but then started to leak from the NPT.


9th issue: After getting the water heater connected and working, the water lines were pressurized with no leaks while using the outside garden hose as the water source. Decided to take an awesome hot shower as a reward, finished, turned off water, too much water pressure blew an old patch I had never noticed before in the bathroom. Awesome…
Solution #1: Retighten clamps, confirm no leaks. Fixed. One shower later, not fixed.
Solution #2: New patch hose, new clamps
Back-up plan: Pipe cutter, cut out larger section of piping because the patch is literally like 3-4 inches long. Short flexible kitchen water hose, two Sharkbite push-fit fittings.


10th issue: Now that pressurizing the lines via the garden hose as the main water source has been figured out. I decided to make sure the 30gl water tank and water pump were good to go as well. For the most part yea. The pump works, no leaks from the water tank, but every other minute the water pump would kick on and then shut off… the only time the water pump should turn on is to run water when I flip a faucet on. But I wasn’t running water. And the lines should be pressurized and therefore no reason the pump should be on. Whaaa theee… LEAK! Tiny leak. Somewhere. Somewhere between the water pump and the water heater. Where? I don’t know yet, because that’s how tiny the leak is. But it’s definitely a leak.
Plan of action: pull up the carpeting and expose wood flooring, turn on water pump and visually see where the wood becomes wet, follow direction of leak, plumbers glue or patch.
Needless to say, I feel like everyone at ACE Hardware knows me on a first name basis now and I learned how to fix more plumbing issues in 2 weeks than I have ever done in my entire life. Did the Mario Brothers ever do this much plumbing? I definitely didn’t find Bower or Princess Peach during any of my plumbing “adventures.” False advertisement!


Instagram: jeep_chica